How to Paint Trim: Things to Know Before You Start
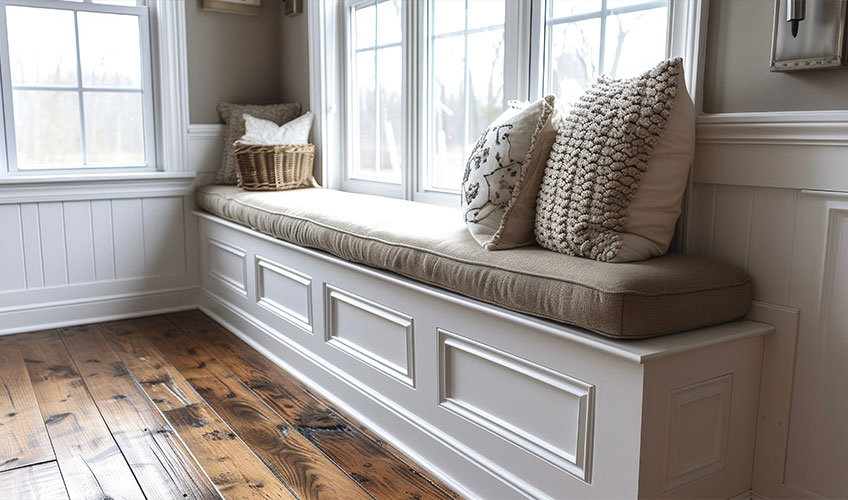
One area of the home that often gets overlooked when starting a painting project is the trim. You can find trim around the windows, walls, doors, and floor of the home. Understanding how to paint trim properly will help you get the best results. What follows are a few tips that will help you understand how to paint the trim the right way, so you can maximize the appearance of your interiors.
Preparation
Before you start painting, you will need to prepare the trim so that it looks its best. The preparation process starts with an inspection. Is the trim still in good condition? If there are major issues, you may want to consider replacing the trim instead with another, newer piece.
Washing: You will want to wash the trim to remove any dust and dirt particles. Plus, proper washing will remove any grime or grease that may stop the sanding process.
Sand: If the trim is in rough shape, you may want to start with 80 or 100-grit sandpaper. Otherwise, 220-grit sandpaper should work fine. The goal is to smooth out the surface and remove any paint that is present.
Priming: It may sound counterintuitive to prime before you address any dents or dings, but if you are painting over raw wood, then priming should be completed first. By priming first, you help the paint along with any patching or caulking elements to stick to the surface.
Addressing Dents & Dings: A big part of how to paint trim is improving the trim itself if it is damaged, dented, or aged. This means that you should examine the trim for any dents, dings, and other imperfections that can be addressed.
Painting
Now you are ready to paint. Choosing the right paint should start with whether you want oil or water-based paint. Most professionals use oil-based paint which levels out better and dries slower so you can paint for a longer time. However, water-based paint is more environmentally friendly, dries faster, and has less of an odor.
Gloss or Semi-Gloss: The advantage of gloss and semi-gloss is that they are easier to clean compared to matte finish paints. You may consider a water-based enamel paint over an oil-based one because of their availability.
Painting Tips
Use a Pail: You’ll want to pour the paint from the can into a bucket or pail. That will allow you to easily remove excess paint from the brush. Greater control is called for when painting trim as compared to painting walls or ceilings.
Even Coat: Think in terms of applying an even coat of paint to the surface. If you need to add another coat, so be it. Do not try to paint it all in one coat.
Paint Edges First: Pull the paint brush along the edge of the trim, not across it. Start by applying the brush about a quarter inch away from the wall, then sneak closer to the wall with each stroke. Using fewer strokes will help hide any brushstrokes on the trim.
Now that you know how to paint trim, you can start on your next painting project with more confidence. With proper preparation, you can get the look that you want with less effort.
Email or call Tilo Martin Painting for more information 310-230-0202.


